Black and white film photography is almost synonymous with photojournalism and fine art photography. Aside from its availability and ease of use, black and white film is also very simple to process. This means that photographers can take their photos, and develop the negatives at home–even without a darkroom. It is a great way to return to the roots of photography. Once you get the hang of it, it’s almost therapeutic. Here’s how.
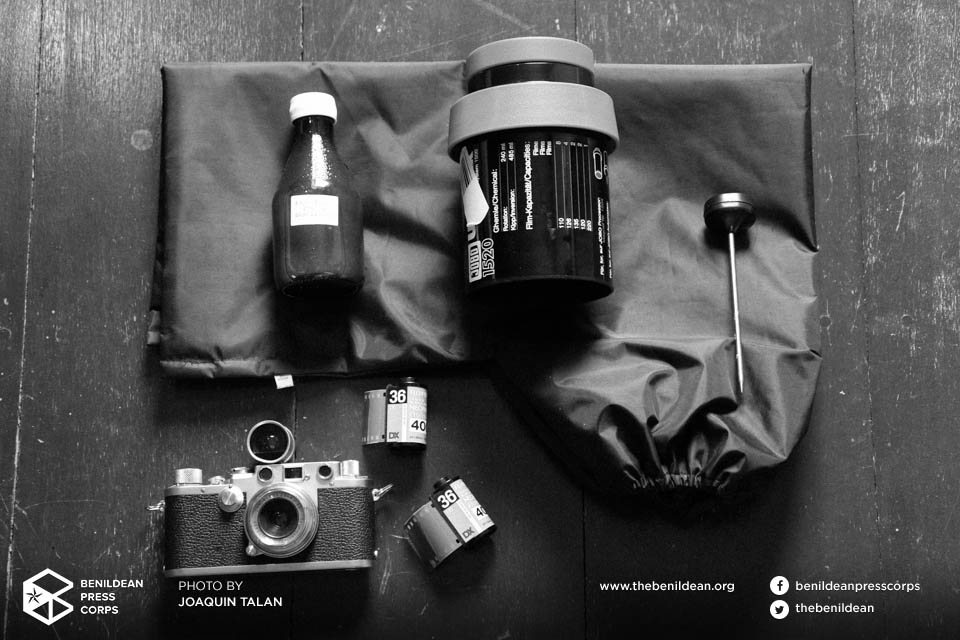
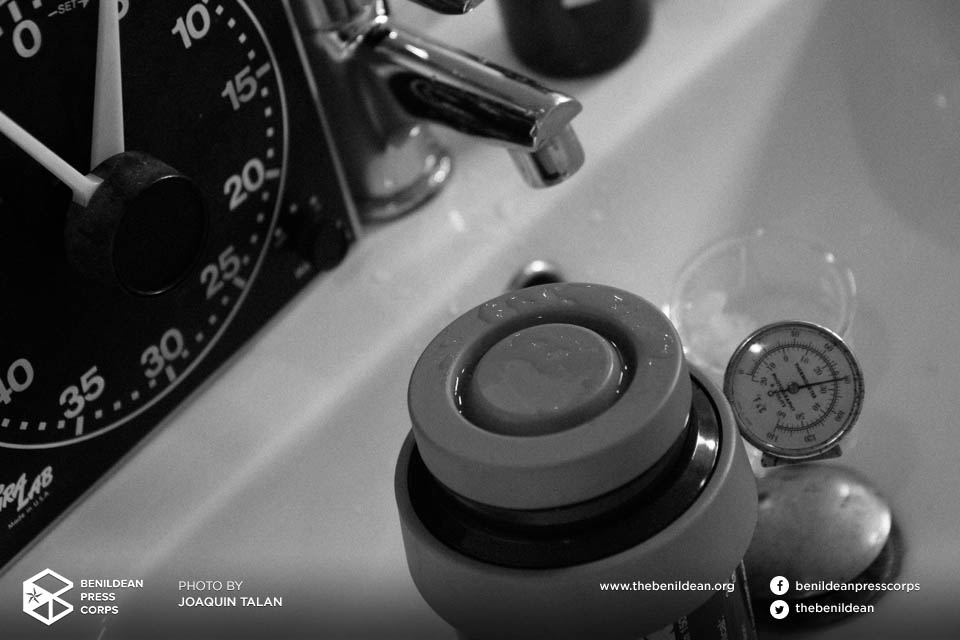
Materials: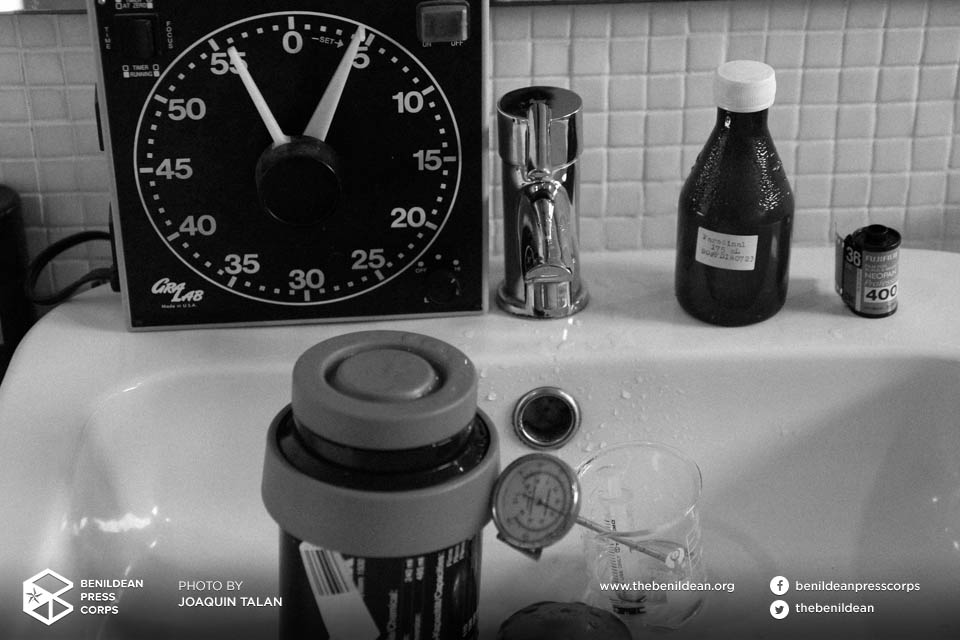
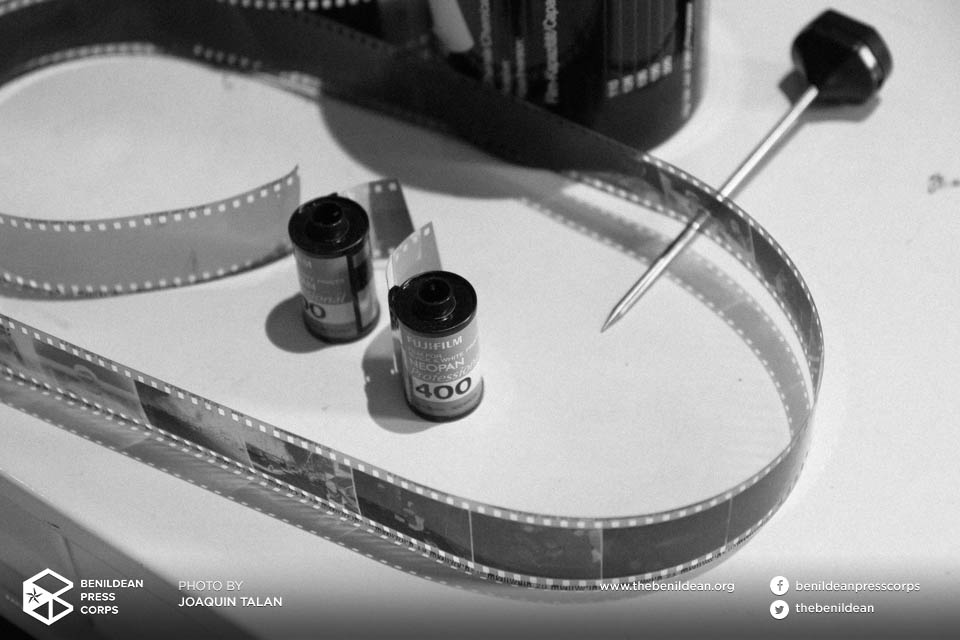
Exposed roll of black and white film
Film developer
Fixer
Stop bath
Dishwashing liquid
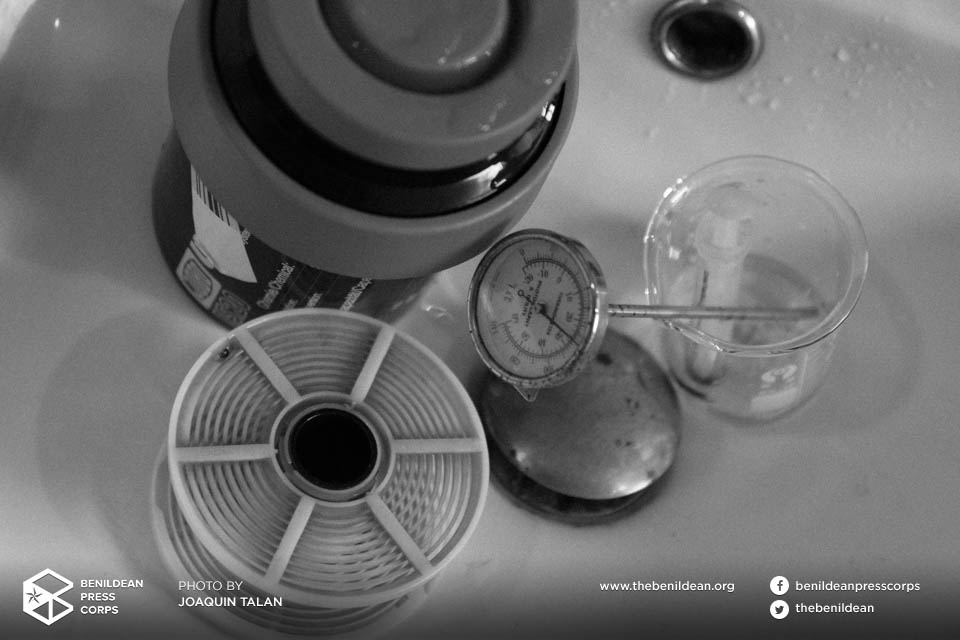
Thermometer
Developing tank
Changing bag
Bottle opener
Steps:
1. Loading the developing tank
This entire step is done with all materials inside a changing bag. A photography changing bag is a light-proof bag wherein photosensitive materials can be processed. This bag is especially handy in case darkrooms are inaccessible, like in the field. The bag has holes for your hands and nowhere else to ensure 100% darkness. This step is done without really seeing what your hands are doing. It pays to practice this step with scrap film. Use a bottle opener to snap off the cap of the film cassette. Once the film is removed, it can then be rolled on to the reel and the tank may be sealed.
2. Preparation of chemistry
For best results, it is recommended to keep all liquids at 20ºC. Mix your developer and fixer according to the instructions given by the manufacturer. These vary from brand to brand. Stop bath can be made by mixing water and vinegar (see Step 5).
3. Pre-soak
Depending on the film you are using, some companies, like Kodak and Efke, recommend that you pre-soak your film in water. This is usually done by submerging the film in water for approximately three (3) minutes.
4. Developer
Pour out the pre-soak fluids and fill the tank with your developer solution. The duration of this stage depends on your choice of chemicals and film. The duration will vary depending on temperature and film ISO. It is common practice to agitate the developing tank by inverting and rotating it every minute. This keeps fresh chemicals in contact with the film, aiding in the development of the negatives.
5. Stop bath
This step ensures that the film stops reacting to the developer chemicals. The vinegar used in the stop bath contains acetic acid, which is the agent that halts the development process. This is usually done for at least a minute with continued agitation every 30 seconds.
6. Fixer
During the fixing stage, the images on the film begin to appear as the film begins to turn transparent. After a minute of fixing, the developing tank may be opened. Fixing times also vary from manufacturer to manufacturer. A common way of judging its completion is to leave the film in the chemicals for twice the time it took for the film to clear.
7. Wash
This stage will ensure that your film is free of any chemical residue. Keep the film under running water for at least two minutes. This should flush out any build up left during the development process.
8. Wetting agent
If the film is left to dry directly after washing, it is possible that the negatives will have water stains. To avoid this, add one drop of dishwashing soap to your developing tank and fill with water. Then, keep the film inside the tank for 30 seconds to one minute. The dishwashing soap will make the water runnier, making it roll off the film easier–leaving less stains or none at all.

